
Last updated November 21, 2026
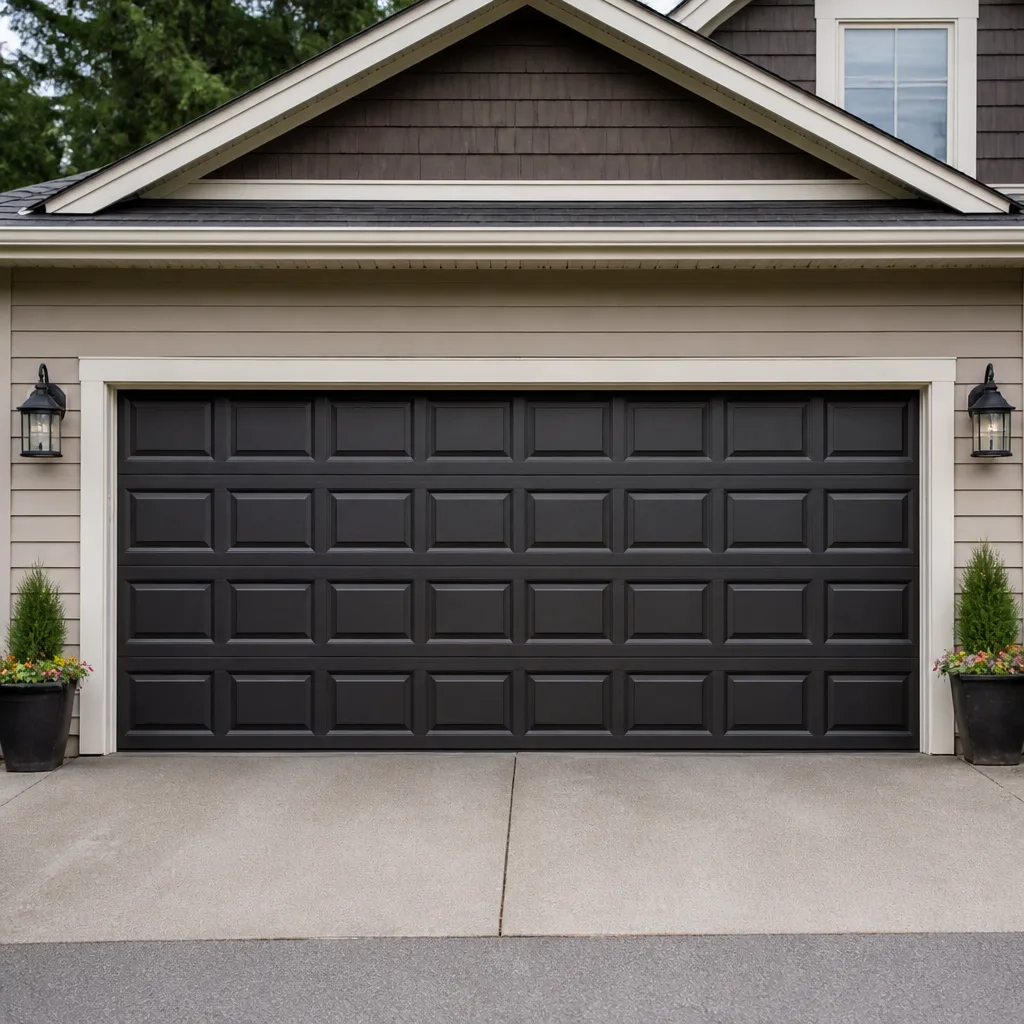 Raised-panel steel
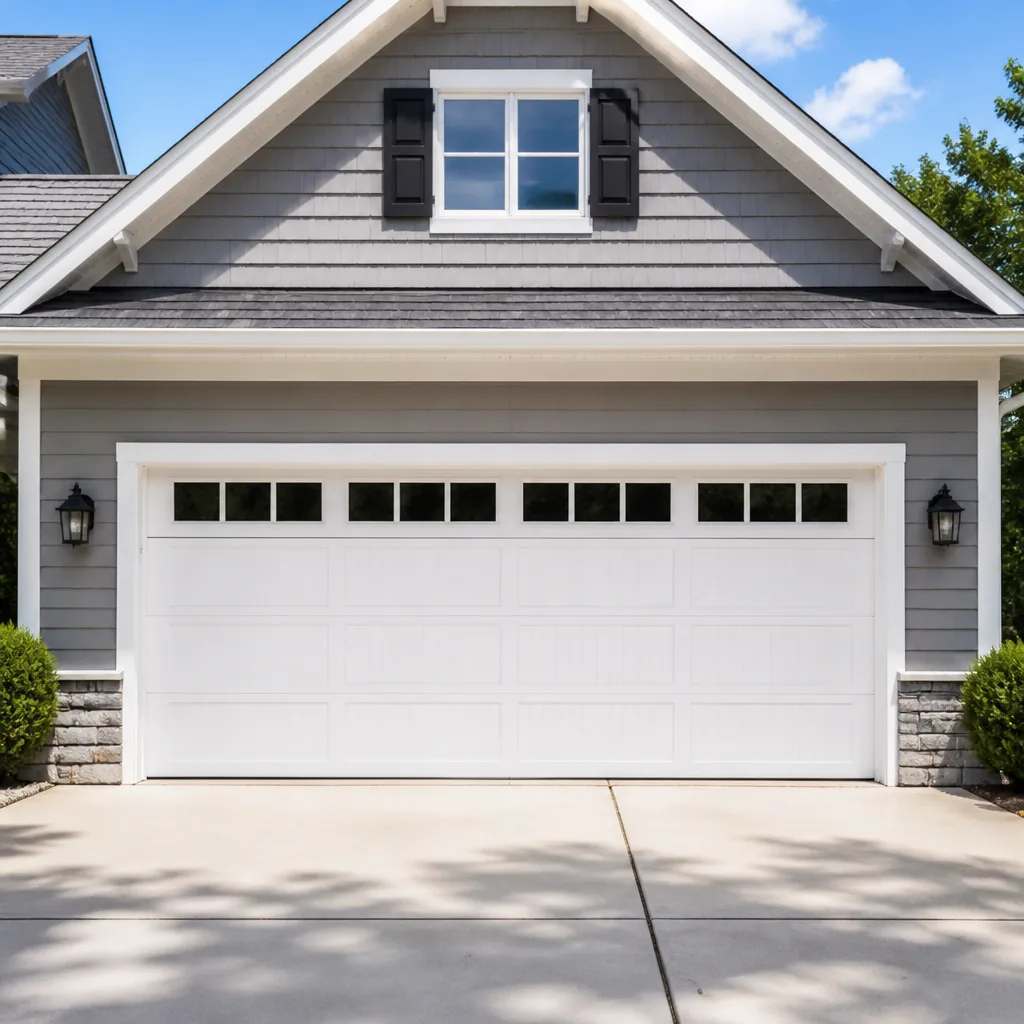
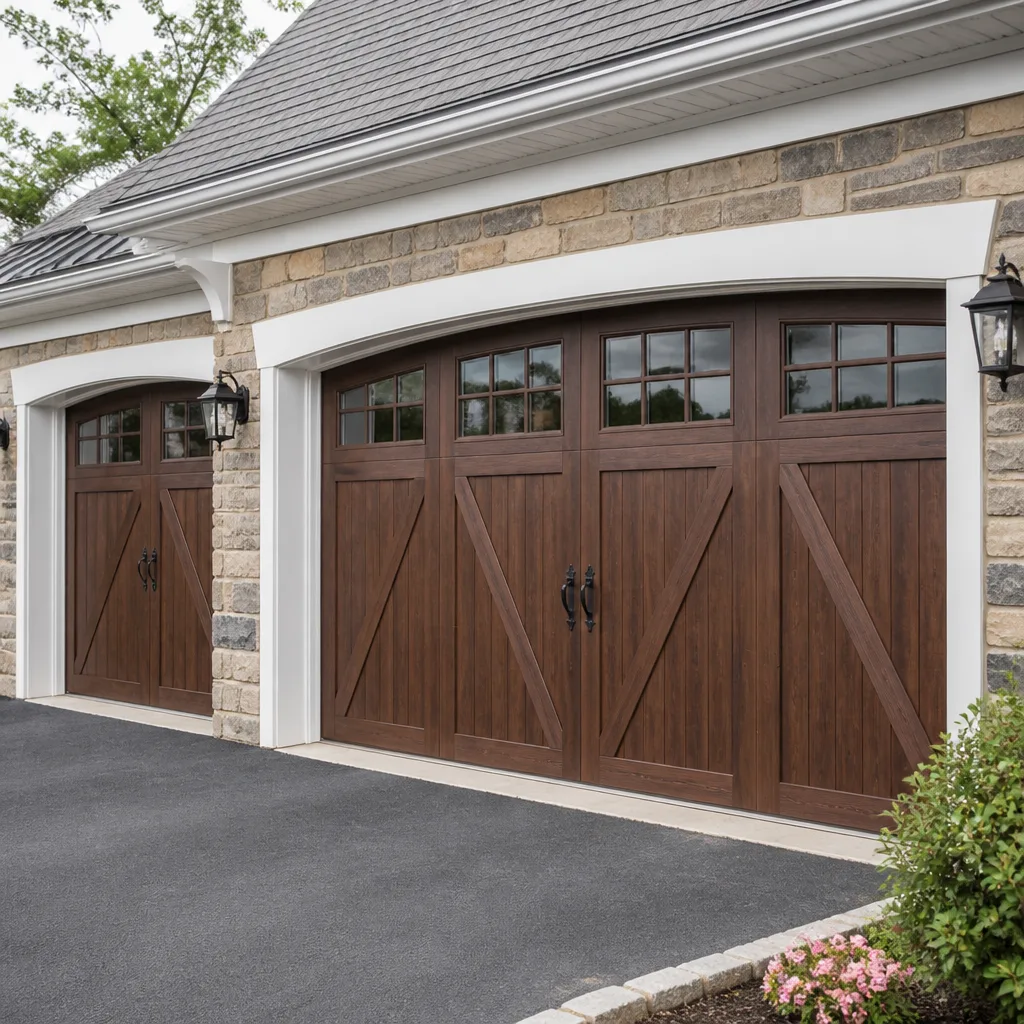 Carriage house
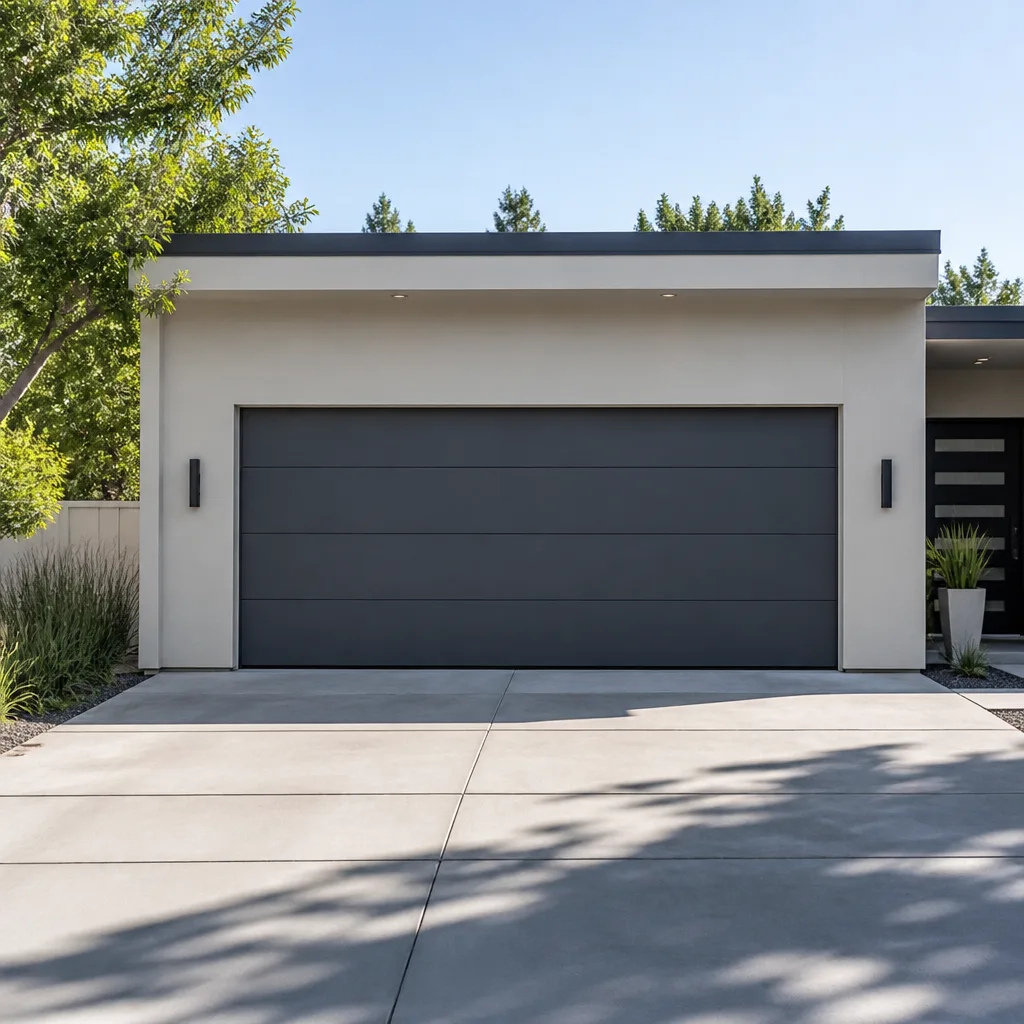 Modern flush
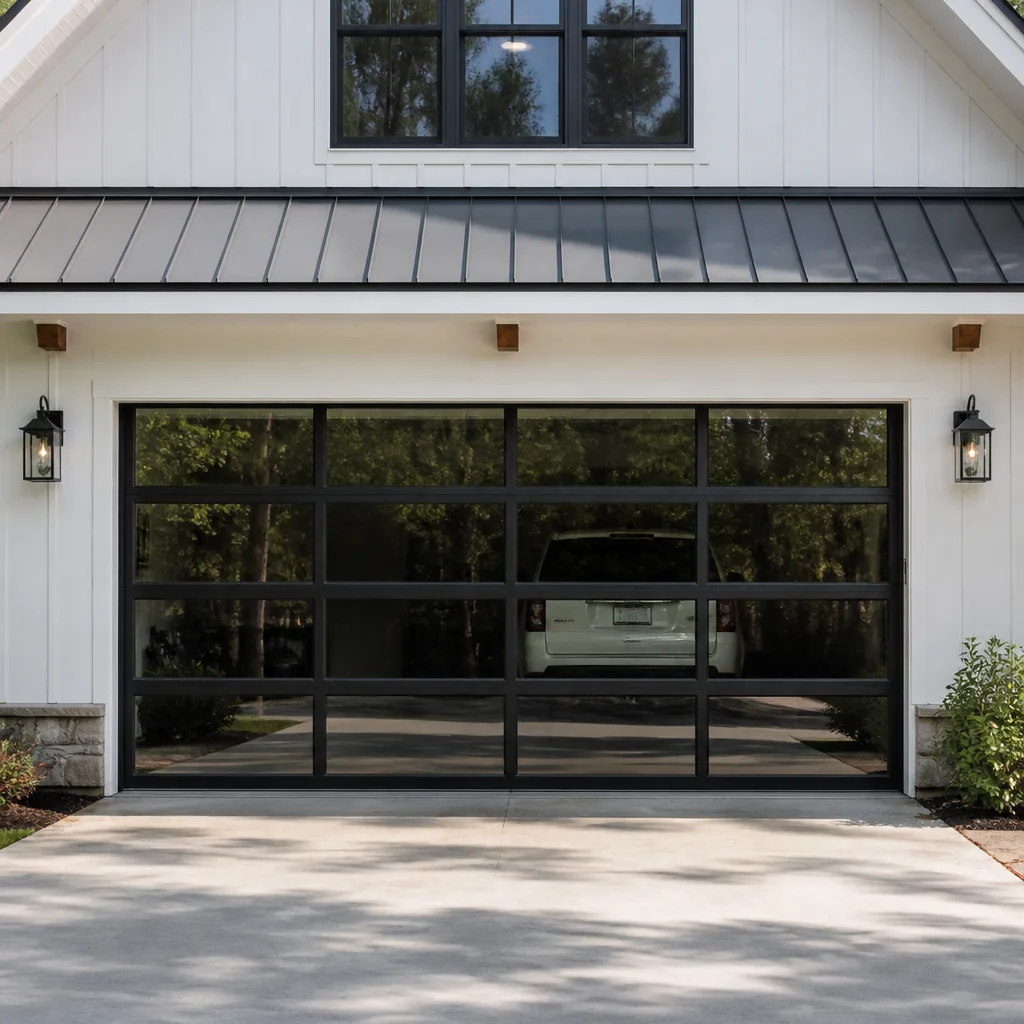 Full-view glass
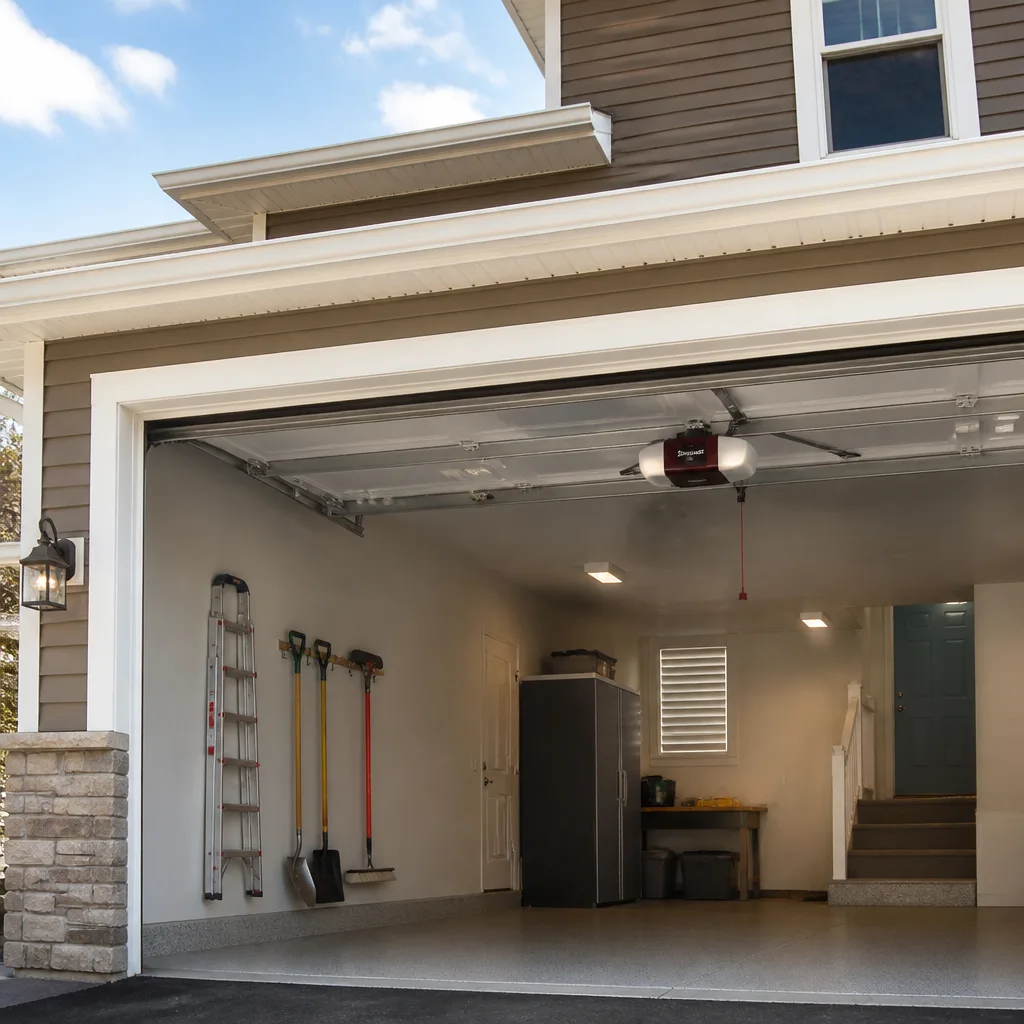 LiftMaster openers
 Chamberlain openers
Full 25-point door and opener safety check with every visit - springs, cables, rollers, tracks, and your LiftMaster or Chamberlain opener included
You get a price before we start. It does not change when the pro arrives.
Get your free estimateDIY vs Professional Garage Door: The Waldorf Homeowner’s Decision Guide
Most advice on this subject draws the line in the wrong place. You’ll read that garage door work is either “always call a pro” or “it’s easier than you think,” and both are useless because they ignore the actual hardware. A torsion spring stores enough energy to break a wrist or take out an eye when it lets go, but adjusting your door’s travel limit or realigning a safety sensor is something any careful homeowner can finish in about 20 minutes with a screwdriver. The difference isn’t skill. It’s which component you’re touching. This guide sorts every common garage door task into safe-for-you and professional-only, with the injury mechanisms spelled out, the cost math for Waldorf homeowners, and the prep work that cuts a pro’s billable time. We’re Waldorf Garage Door Repair Pros, and we wrote the version we’d hand a neighbor.
Quick Answer
Safe DIY garage door tasks in Waldorf are limited to sensor cleaning and alignment, bottom seal replacement, roller lubrication, travel limit adjustment, and remote reprogramming. Everything involving torsion springs, lift cables, and track realignment beyond a minor bump is professional-only because the stored energy and cable tension can injure you badly. When in doubt, the deciding question is simple: does the task require you to release or work against stored spring tension? If yes, stop and call.
Styles & brands we work with
- Raised-panel steel
- Carriage house
- Modern flush
- Full-view glass
- LiftMaster openers
- Chamberlain openers
Table of Contents
- Where the Line Actually Falls
- The Hard No-DIY List
- The Safe DIY List
- The Cost-Benefit Math
- DIY Mistakes That Cost More Than the Repair
- The Middle Path: Prep Work That Lowers the Bill
- Waldorf-Specific Factors
- When to Call a Professional
Where the Line Actually Falls
Garage doors are the largest moving object in most homes, and they’re built around energy storage. That’s the whole design. A torsion spring or a pair of extension springs counterbalances a door that might weigh a few hundred pounds, which means the spring is holding roughly the door’s weight in tension every hour of every day. The moment you start disassembling that system, you’re working inside a loaded mechanism.
Contrast that with the door’s control and safety systems. The safety sensors at the bottom of the tracks are low-voltage eyes that stop and reverse the door when something crosses the beam. The travel limits are set screws on the opener. The remote is a paired radio transmitter. None of these hold stored energy, and none of them can hurt you if you’re careful. That’s where a homeowner can genuinely work.
Here’s the distinction in plain terms:
- Energy storage and structure (springs, cables, torsion tube, track alignment, panel replacement) – professional territory.
- Control and accessories (sensors, limits, remotes, keypads, lubrication, seals) – homeowner territory.
We’ve seen Waldorf homeowners get this exactly backwards. People will avoid touching a sensor out of caution, then watch a video and try to wind a torsion spring with two screwdrivers. The sensor can’t hurt you. The spring can. Learn the line, and most of the decision makes itself.
The Hard No-DIY List
These three tasks are professional-only, and it’s not because we want the work. It’s because each one has a specific injury mechanism that’s easy to underestimate on video and impossible to recover from once it happens.
Torsion Spring Replacement
A torsion spring is wound under tension and held by winding bars seated in the collar. Releasing it means controlling that stored energy with your hands and a bar that can slip out of the collar. When a bar slips, it swings with the full force of the spring. The injuries we hear about from this trade are broken wrists, fractured fingers, and facial injuries. Springs also fail without warning, sometimes mid-wind. This is the single most dangerous repair on a garage door, and it’s why garage door spring repair is a service we treat as its own discipline rather than a routine call. If a spring is broken – you’ll hear a loud snap and the door won’t lift – keep everyone away from the door and call.
Cable Replacement
The lift cables run from the bottom corners of the door up to the drums on the torsion shaft, and they’re under tension whenever the door is closed. A cable under load can whip when it’s cut or released. A frayed cable is a warning, not a nuisance: it can snap under tension and cause lacerations or eye injury. Never cut, loosen, or remove a cable to “see what’s wrong.” If you see fraying or the door hangs crooked, that’s a call.
Track Realignment Beyond a Minor Bump
A track that’s been bumped slightly off vertical can sometimes be nudged back with hand pressure while the door is fully up and the opener is unplugged. Anything more than that – a track that’s been hit hard by a car, a bend near a curve, a door that’s jumped the track entirely – is dangerous because the door can come down unevenly and the panels can bind and twist. Track geometry interacts with spring tension. Leave it to a technician.
The Safe DIY List
These five tasks are within reach for a careful homeowner with basic tools. Take your time, unplug the opener before working near the door, and never work under a door that’s held open by anything other than its own springs.
- Sensor cleaning and alignment. If the door reverses or won’t close, check the two sensor eyes at the bottom of the tracks. Wipe the lenses with a soft cloth, check that nothing is in the beam path, and confirm both LEDs are solid rather than blinking. Loose sensor brackets can be straightened by hand and retightened with a screwdriver.
- Bottom seal replacement. The rubber seal along the bottom edge keeps out drafts, water, and pests. It slides out of its channel or is held by screws. Measure the width, buy a matching seal, and slide the new one in. Twenty minutes, no energy stored.
- Roller lubrication. A squeaky door is usually dry metal. Use a garage-door-rated lubricant (not WD-40) on the rollers, hinges, and bearing plates. Wipe away excess so it doesn’t attract grit.
- Travel limit adjustment. If the door doesn’t close all the way or reverses before hitting the floor, the travel limits on the opener need a small tweak. On most openers there are two adjustment screws (up and down) with clear labels. Turn a quarter-turn at a time, test, and repeat.
- Remote reprogramming. A remote that’s stopped working usually just needs re-pairing. The “learn” button on the opener head is labeled. Press it, then press the remote button within the window the opener allows (typically 30 seconds on Chamberlain and Genie units). Check your opener’s manual for the exact sequence.
None of these require lifting a panel or releasing a spring. If a task starts to feel like it’s moving toward the torsion tube, stop. That’s the line.
The Cost-Benefit Math
The cost question isn’t “how much does a pro charge?” It’s “what does this task cost me in tools and time versus what a service call costs?” For one-time repairs, the tool math almost always favors the call. You’ll spend more on tools you’ll never use again than you would on the visit.
Here’s the comparison in rough terms for the Waldorf market. All of these are estimate ranges, and your written estimate sets the final number.
| Task | Typical Professional Cost (Estimate) | DIY Tool Investment | Verdict |
|---|---|---|---|
| Torsion spring replacement (one spring) | Roughly $180-$340 | Winding bars ($40-$80), gloves, safety glasses | Professional. The tool cost is real but the injury risk is the deciding factor. |
| Spring pair replacement | About double the single-spring range, since a matched pair is normally replaced together | Same tools; pair must be matched by cycle life and wire size | Professional. |
| Sensor align or clean | Usually absorbed into a routine service visit or nominal estimate | Screwdriver, cloth | DIY. |
| Bottom seal replacement | Low estimate range for the seal plus install | New seal ($20-$50), utility knife | DIY if you’re comfortable measuring. |
| Travel limit adjustment | Nominal for a service call | Screwdriver | DIY. |
| Cable replacement | Mid estimate range per cable | Not sold to homeowners in most retail settings | Professional only. |
The tool-investment calculation flips for the seal and sensor jobs because you’re buying something you actually use (a seal, a cloth) rather than a specialty tool for one job. It doesn’t flip for springs. Winding bars aren’t a bad investment if you repair garage doors for a living. For a single repair, they’re a tool you’ll use once and a skill you’ll never safely practice again. That’s the wrong trade.
DIY Mistakes That Cost More Than the Repair
Some mistakes are irritating. Others create problems that cost real money or put someone at risk long after the “repair” looked finished.
Opener Installation on the Wrong Door
Openers are rated for door weight and door type. A high-lift or oversized door needs a different opener than a standard seven-foot door. Installing an opener rated below the door’s weight stresses the motor and the door itself, and the resulting wear (stripped gears, a bent door) usually costs more than the correct installation would have. It also voids the opener’s warranty in most manufacturers’ terms, because the warranty is void when the unit is installed outside its rated application. Chamberlain, LiftMaster, and Genie all specify installation limits in the manual. Read them before you buy.
Spring Substitution
Springs are sized by wire gauge, inside diameter, and length. A “close enough” spring will lift the door, then wear out prematurely or snap. Worse, mixed springs on a two-spring system create uneven lift and put more load on one side. Manufacturers like Clopay and Amarr specify spring sizes by model. Match them or have the sizing confirmed by a technician.
Cutting a Cable “Just to Check”
We’ve been asked to quote a repair where the homeowner had already cut one cable to “see if it was the problem.” Cutting a live cable is how people get hurt. It also changes the door’s balance and can drop a corner. If a cable is suspect, the door stays closed and someone qualified looks at it.
Backing Out Torsion Bolts “for Adjustment”
Loosening the torsion collar bolts with the spring wound is the other common way homeowners get hurt. The spring releases instantly. There is no safe partial wind-down for someone who hasn’t been trained. If the door is out of balance, that’s a spring tension call.
The Middle Path: Prep Work That Lowers the Bill
Most billable labor on a garage door job is diagnosis and cleanup. A homeowner who does prep work can shorten the visit without touching anything dangerous. Here’s the sequence we’d suggest before garage door repair:
- Clear the area. Remove the car, the recycling bins, the bike, and anything stored against the walls of the garage. Technicians need a clear path to the door tracks and the opener head.
- Take a photo of the label on the opener. The model number is on the opener head. A photo saves the tech from climbing a ladder to check.
- Measure the door. Width and height at the opening, inside the frame. A note with the measurement on it will speed any seal or panel work.
- Write down the symptoms. “Door reverses at the same spot every time” is more useful than “it doesn’t work.” Note the sound, the timing, whether it happens on open, close, or both.
- Note the remote count. How many remotes, keypads, or car-integrated transmitters do you have? If the door is older, all the remotes may need to be re-paired after service.
None of these steps is a repair. They’re information gathering. In practice, they turn a billable diagnostic visit into a focused repair visit. For bigger jobs like garage door installation, the same prep helps: clearing the driveway, confirming the exact door size, and having a note of any HOA or municipal requirement that applies. If you’re not sure whether a permit applies to your project, ask your city’s building department before ordering a door.
Waldorf-Specific Factors
Garage doors in the Waldorf area deal with the Mid-Atlantic climate’s full seasonal swing. Summers are hot and humid, winters swing between freezing and thawing, and springs tend to fail in the transition months when the temperature moves the most. The thermal cycling alone wears springs and stresses the seals, and wood or composite panels take on moisture during humid stretches. If you’re replacing a door or seal, plan for the material to handle both heat and freeze.
The Hook: The Spring Is the Only Part That Can Ruin Your Year
If we’re honest about the safety math, almost every garage door repair in Waldorf falls into one of two categories. The safe tier is small: sensors, limits, remotes, seals, and lubrication. The other tier is where we work. A broken torsion spring, a snapped lift cable, a door that’s jumped the track after a bump from the car – these are not skill-tier decisions. They’re injury-tier decisions. If you take nothing else from this guide, take that sorting.
Waldorf has a mix of older and newer construction, and that affects what’s on the truck and what you’ll need to source. Older doors may use extension springs rather than torsion; newer builds with garage door opener repair needs often have Wi-Fi-connected openers like LiftMaster or Chamberlain that need re-pairing after service. If your home was built in the last decade, there’s a good chance your opener is smart-home-capable, and that changes what “remote reprogramming” means: it’s an app and a physical remote, not just the garage remote.
Neighborhood Context
In neighborhoods around St. Charles and Waldorf proper, many homes have multi-car garages with high-traffic doors that get used a dozen times a day. In those households, wear items – rollers, cables, seals – degrade faster, and the sensor alignment conversation is worth having before you call. In the older pockets of the area, the door hardware may predate the home’s second opener and need a size check before any panel or spring work. Either way, the line between DIY and professional is the same. The frequency just changes how quickly parts wear.
Common Mistakes to Avoid
Even careful homeowners make the same handful of mistakes. Here’s the list, in order of how often we see them.
- Cutting a cable to “test” it. A cable under tension can whip when it’s released, and the resulting injury is avoidable. If a cable looks frayed, stop and call.
- Backing out torsion collar bolts to adjust tension. The spring releases instantly, and that’s how wrists and fingers break. Torsion work needs trained hands, not a YouTube tutorial.
- Substituting a “close enough” spring. Springs are sized by wire gauge, inside diameter, and length. A wrong spring will lift the door and then fail or wear your opener down.
- Installing an opener rated below the door weight. This voids most manufacturer warranties and stresses every component. Check the manual’s door-weight and door-type limits for your Chamberlain or Genie before you buy.
- Forgetting to unplug the opener before working on the door. A sensor you’re adjusting or a roller you’re replacing can be crushed if the opener fires from the wall button or app.
- Using WD-40 as a lubricant. It’s a solvent, not a lubricant, and it attracts grit that wears the rollers faster. Use a garage-door-specific product.
- Skipping the measurement before buying a new door. Order the wrong size and you own a door that won’t fit. Measure the opening twice and confirm the model’s actual dimensions, not just its “nominal” size.
When to Call a Professional
Call us when the task requires releasing or working against stored spring tension, when a cable is frayed or snapped, when the door has jumped the track or hangs unevenly, when panels are bent or the frame is damaged, or when the opener needs replacement and you’re not certain of the door’s weight rating. We also get the calls where the DIY repair looked fine and then failed a week later; those get sorted on the same principle – what failed? – and always with a written estimate first. Waldorf Garage Door Repair Pros offers free estimates in Waldorf. Call (844) 443-3856. We answer 24/7. Fast dispatch from 7am to 7pm, Sunday through Friday. The price is quoted and agreed before any work starts, and the written estimate sets the final number.
See the difference
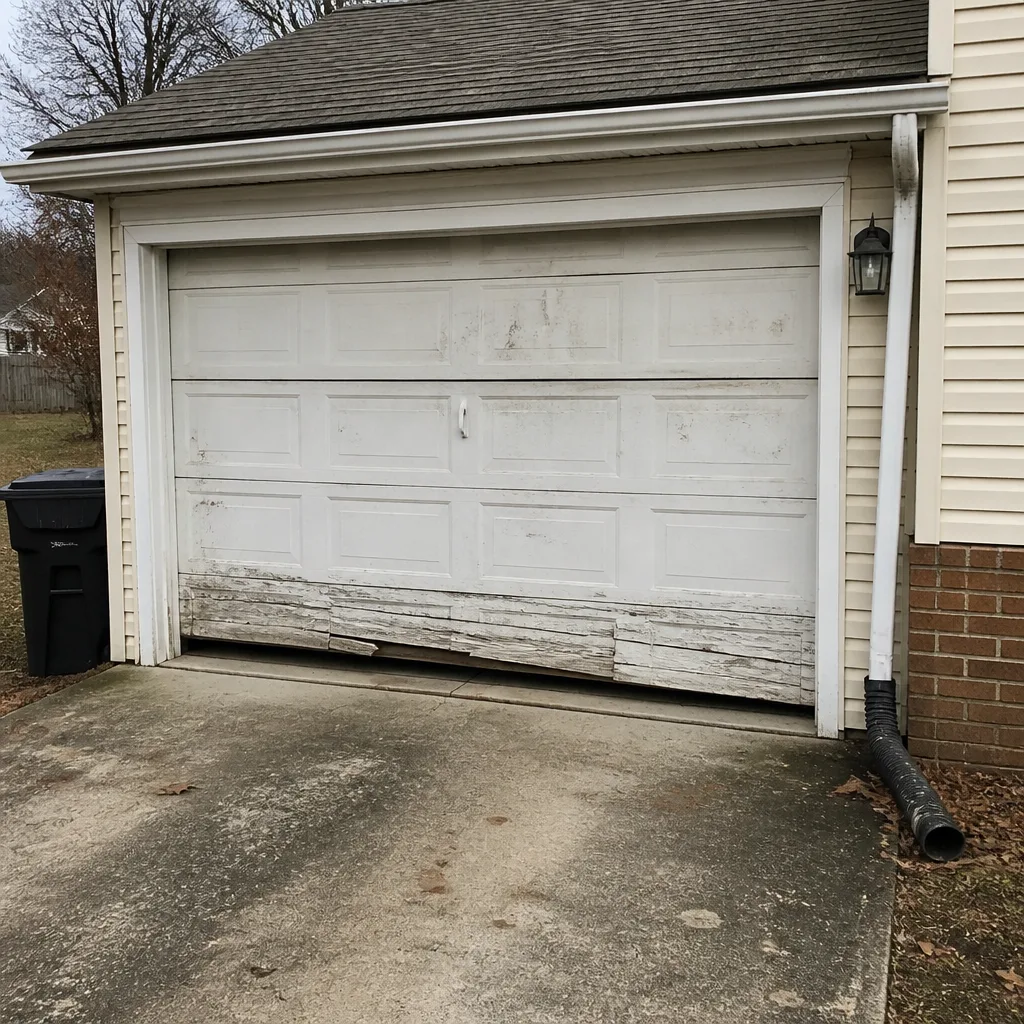 Before
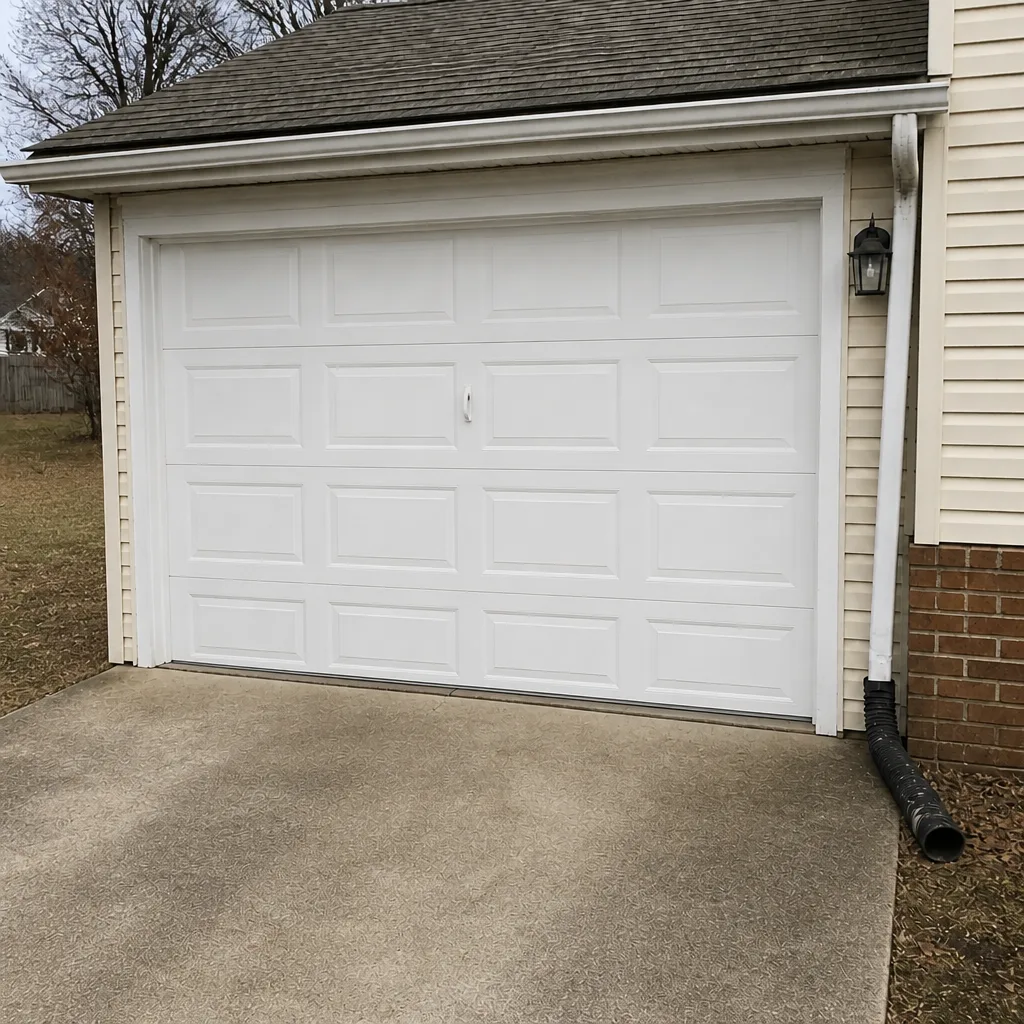 After
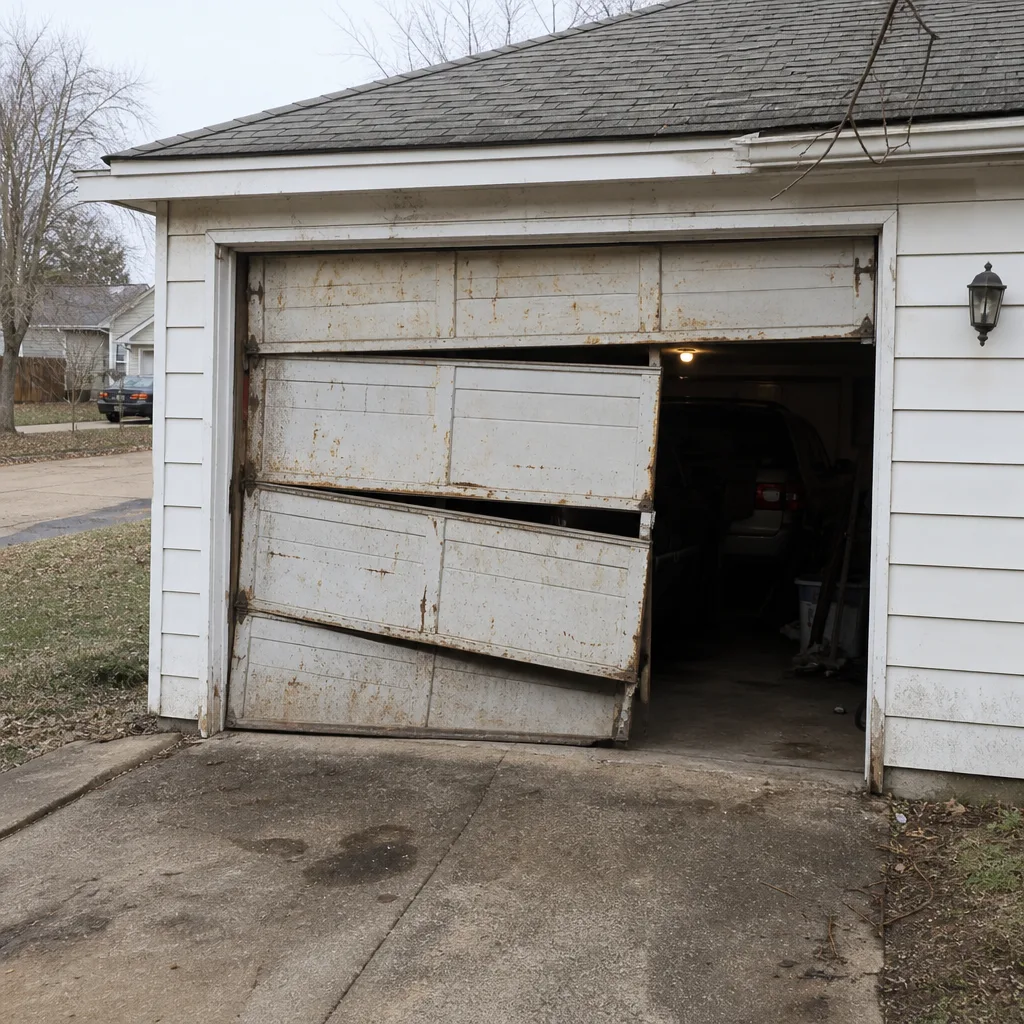 Before
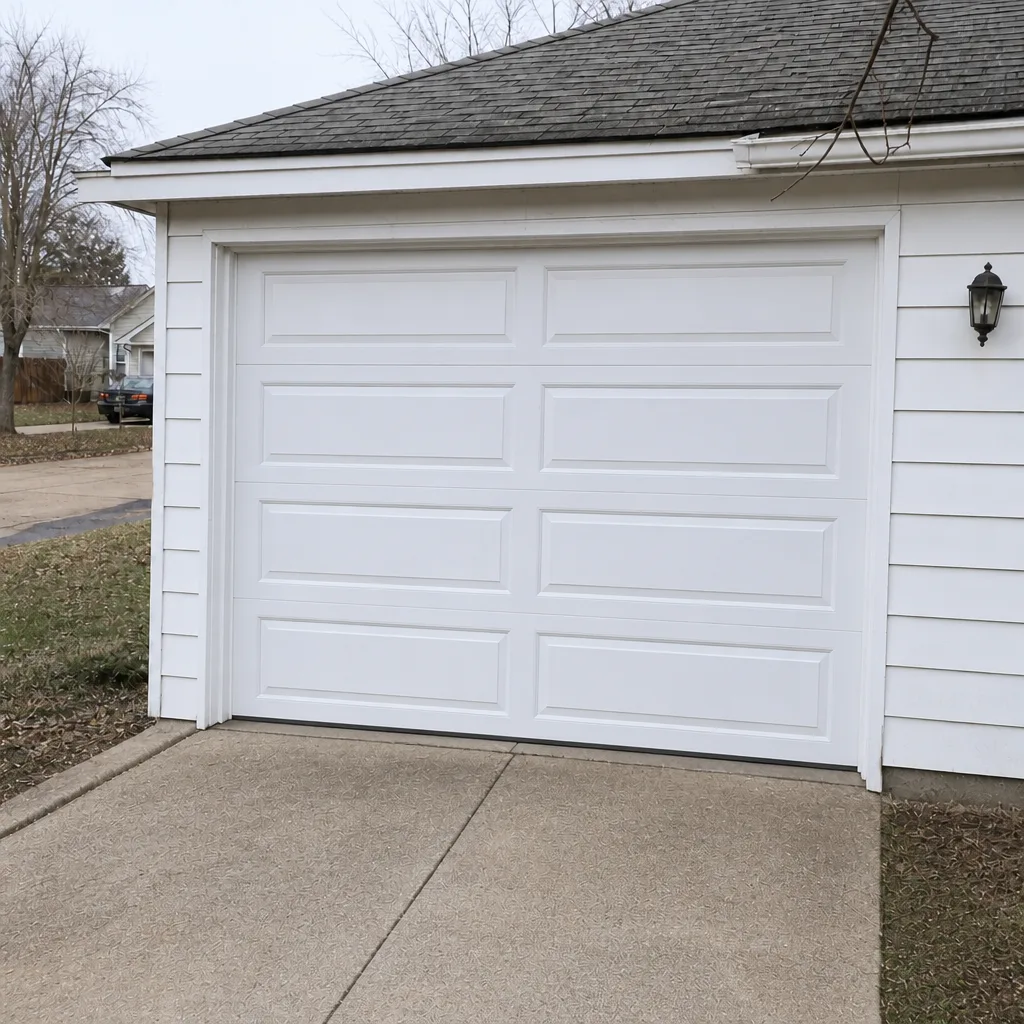 After
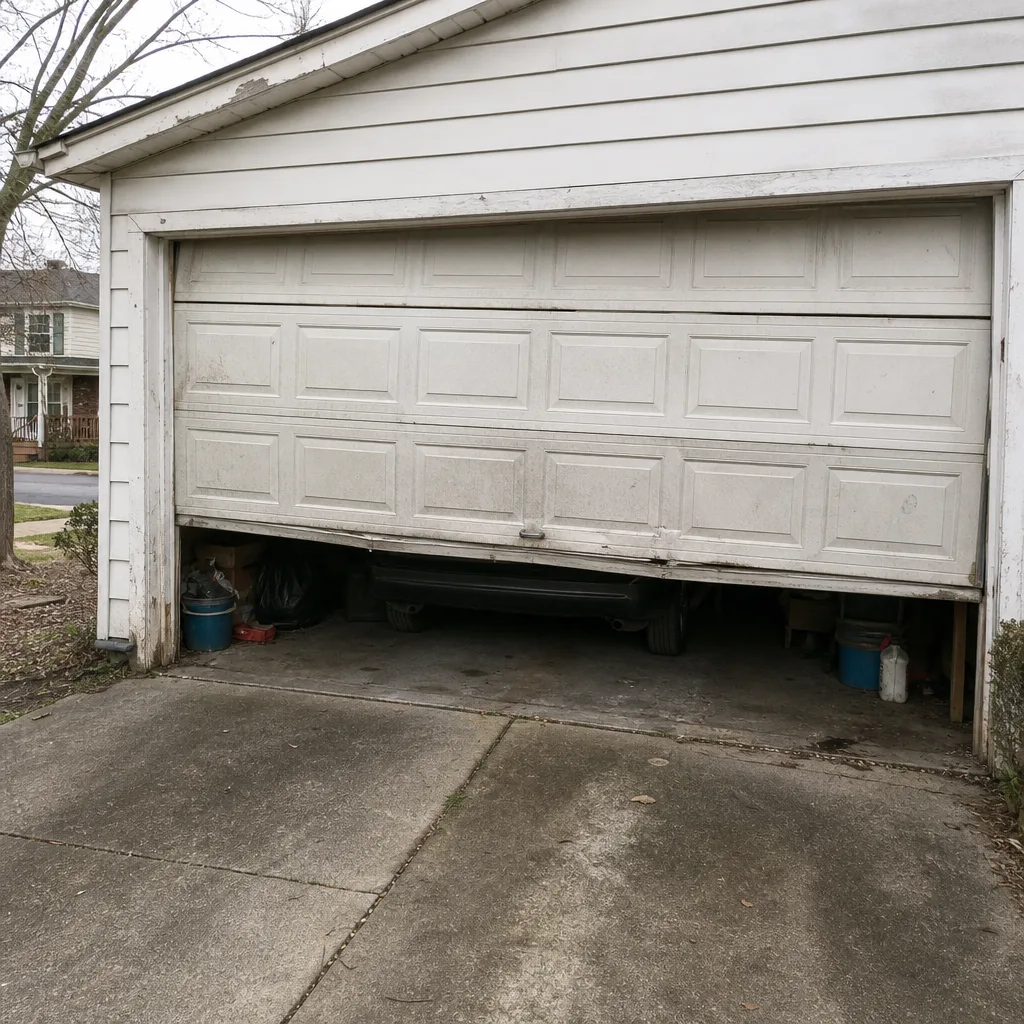 Before
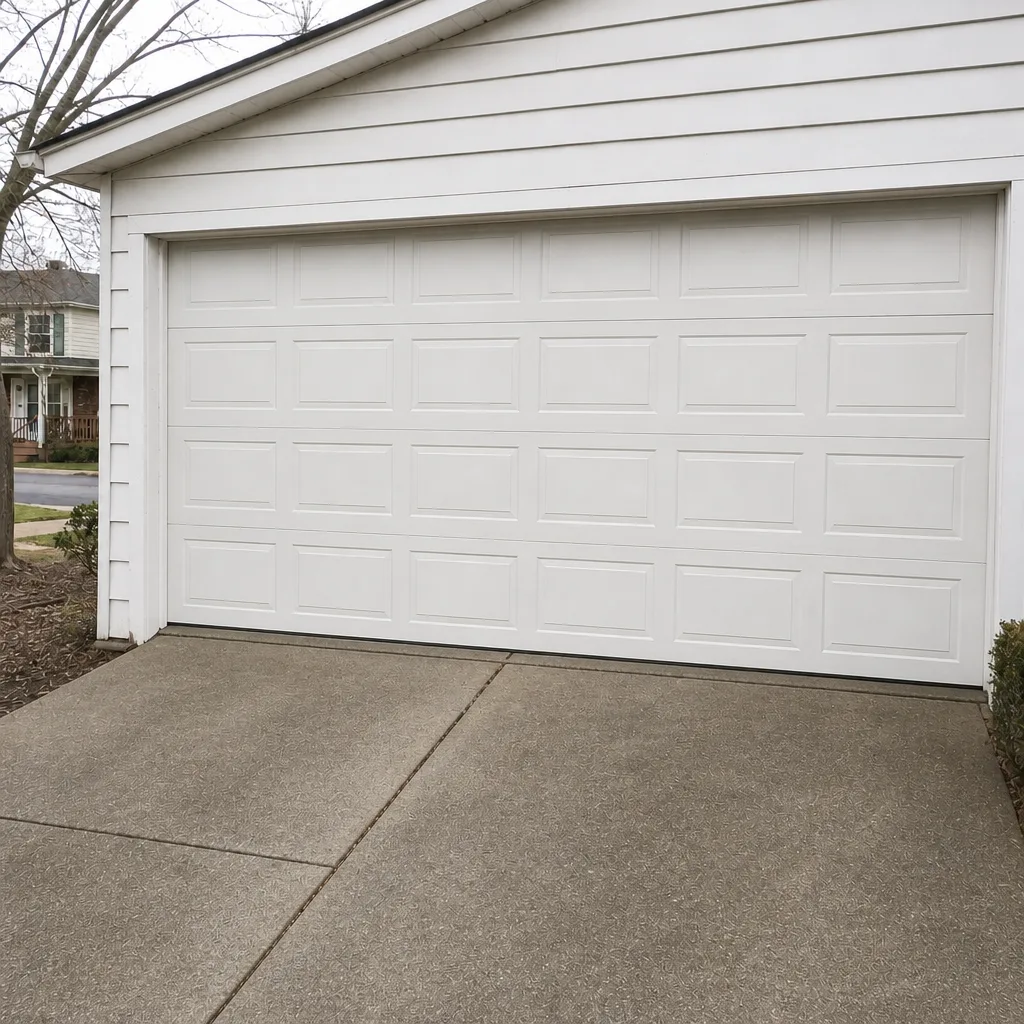 After
Frequently Asked Questions
No. Torsion spring replacement requires winding bars and the ability to control stored energy that can break a wrist or cause facial injury when a bar slips. It’s one of the most dangerous repairs on a garage door, and the injury happens fast. Call (844) 443-3856 for an estimate – estimates are free.
Sensor cleaning and alignment, bottom seal replacement, roller lubrication, travel limit adjustment, and remote reprogramming are all safe with basic tools and care. None of them releases stored spring energy or lifts a panel. Anything involving springs, cables, or major track realignment should go to a technician.
It often will, if the opener is installed outside the manufacturer’s rated door weight or door type. Chamberlain, LiftMaster, and Genie all specify installation limits in their manuals, and voiding the warranty is a common outcome when those aren’t followed. Check the manual before buying, and if your door is oversized or high-lift, have a technician size the opener.
Yes. Clear the area, photograph the opener’s model label, measure your door’s opening, and write down the symptoms. That reduces diagnostic time, which is part of what you’re paying for. It doesn’t eliminate the visit cost, but it can shorten it. The written estimate is still the price.
Typical estimates for a single spring run roughly $180-$340, and a matched pair is normally replaced together so the pair runs about twice that. Actual pricing depends on the door, spring size, and access. Call (844) 443-3856 for an exact quote – estimates are free.
Call us. We answer 24/7, and a call outside dispatch hours is booked into the next opening, Sunday through Friday, 7am to 7pm. We’re closed Saturday, but we’ll get you scheduled. Keep everyone away from the door until then, and don’t try to force it open. Call (844) 443-3856.
The Bottom Line
The DIY vs professional question for garage doors isn’t about your skill level. It’s about the component. Sensors, limits, remotes, seals, and lubrication are safe for a careful homeowner. Torsion springs, lift cables, and anything that releases stored energy are professional-only, every time. If you’re on the fence, ask whether the task involves spring tension. If it does, the answer is call. If it doesn’t, you can likely handle it yourself. For everything on the professional side, we work on the brand you already have: Chamberlain, Genie, Clopay, Amarr, LiftMaster, Amarr, Wayne Dalton, Craftsman, and Raynor. One call covers any brand, any service. Call (844) 443-3856. We answer 24/7. Fast dispatch from 7am to 7pm, Sunday through Friday.
Written by the team at Waldorf Garage Door Repair Pros.